Got my Tempest installed at Panama City Beach. It should provide some interesting data during the peak of hurricane season.
6 Likes
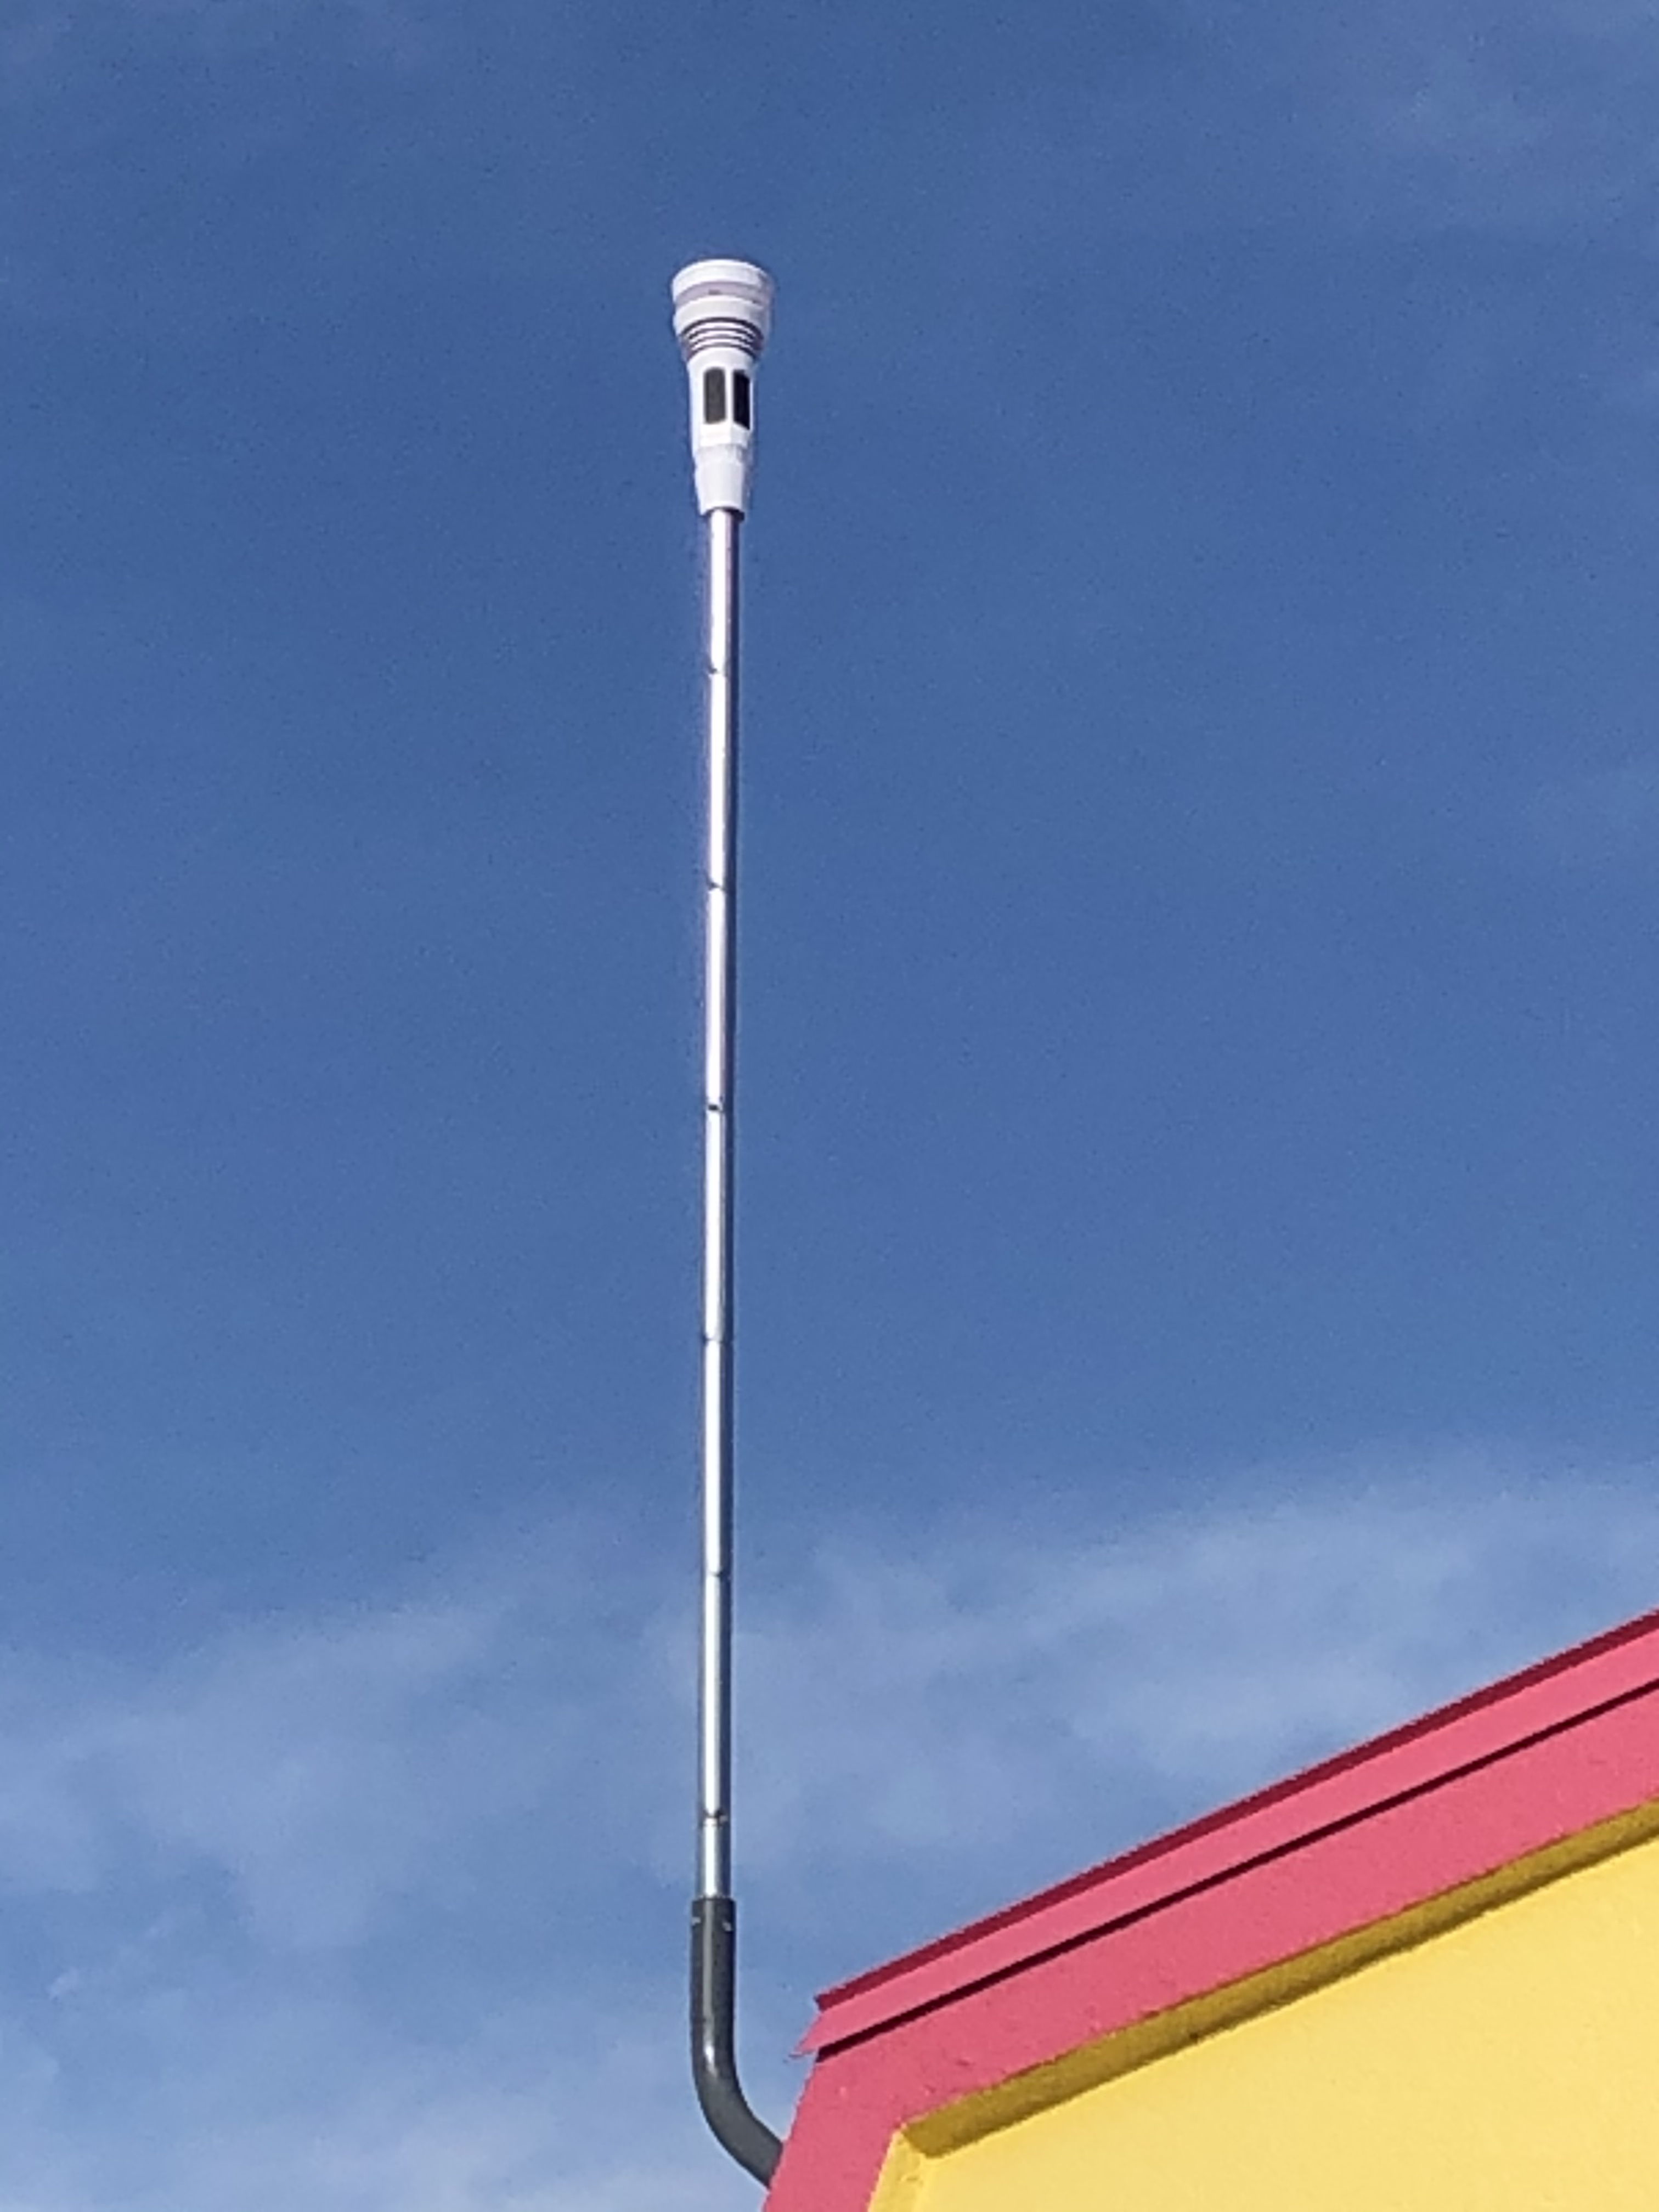
My station is now installed! I’d appreciate any input if there’s anything about the install that looks concerning. Is the pole too long? Should I be concerned about swaying/vibrations? I didn’t ground the install, should I have? Is there a concern for lightning strikes?
I have mounted it on my roof using a tripod (https://www.amazon.com/gp/product/B01M31QRKM/ref=ppx_yo_dt_b_asin_title_o09_s00?ie=UTF8&psc=1) with seals under the legs (https://www.amazon.com/gp/product/B009P79R8U/ref=ppx_yo_dt_b_asin_title_o08_s00?ie=UTF8&psc=1) and mounted on a 9ft vinyl coated closet rod (https://www.homedepot.com/p/Woodgrain-Millwork-1-5-16-in-x-1-5-16-in-x-72-in-Vinyl-Wrapped-Pre-Finished-White-Closet-Full-Round-Pole-10003266/204754164).
I’m looking forward to making use of the station.


Thanks!
7 Likes
I’m happy to report my Tempest did arrive today. Once I upgraded my reading comprehension skills and realized the instructions were asking for the hub serial number and not the Tempest serial number, things went very fast. I already had the app installed, and the post. Less than a minute to get the app configured and maybe two minutes to walk out to the post with the Tempest, ladder and a screwdriver and we’re operational. Took another minute or so for the wind direction to register correctly. Excited!
Edit: looking at the photo, I’m thinking a 4x4 wood post is seriously overengineered for the Tempest. Not going to have a problem with sway/false rain.

9 Likes
New Station Online - St Paul Texas.
Super easy to get going - repurposed an old Al pool skimmer pole
that was dented with some hail - worked great hose clamped to
the fence post in the back yard. Complete Photo Gallery Here.
Here are some highlights:

Easy to link over to Weather Underground as well!!!
6 Likes
Was wondering if someone has mounted 2 Tempests to the same pole and how it was done? I just got my production version and since I live in an apartment, my mounting options are limited. I currently have my test unit mounted on top of the same pole I have my Davis Vantage Pro2 mounted on.
1 Like
I used 10.5’ vinyl coated top rail connected to a 2’ piece of plain rail (both from Lowes) driven into the ground. I used rubber insulators between the rail and the fence post and secured with tie wraps. Seems to work for me, plus it’s now high enough so my irrigation sprinklers wont hit it.

9 Likes
Got it installed but i think i am going to go up higher with a metal pole mounted to the side of the 4x4. Was cool to see that there was an icon already submitted to the Ubiquiti device fingerprint network

3 Likes
Device Fingerprint 
2 Likes
That icon is of one of the early designs. You can tell by the sloping wind gap. The first generation SKY has a wind gap like the current Tempest does. I wonder if it will get updated with a Tempest icon.
1 Like
I hope so. I submitted request for a newer one, I was just happy there was something there.
1 Like
Got it installed but i think i am going to go up higher with a metal pole mounted to the side of the 4x4.
I have a similar setup. Was surprised at the Tempest size. For some reason I had it in my head that it was going to be larger. I have about 7’ of post exposed, so it’s a good height, but kind of dominates the view in that direction. Starting to think about maybe cutting the wood post down to about 4’ and attaching a mast to achieve the same height.
1 Like
Technically it should be an image of the hub anyway  As I can not stand inconsistency, I try and avoid device images as they never match (different angles etc), drives my OCD mad.
3 Likes
Here is my installation, I used an Ambient WeatherMount with S-5 GripperFix rail to mount to the standing seam metal roof.

17 Likes
Wow, that’s a fantastic non-penetrating mount. I’m always reluctant to punch a hole into a roof. No matter how it’s sealed, it eventually will leak.
3 Likes
man that’s clean! Non penetrating mount for the win!
3 Likes


Decided to install my Tempest with stuff I had on hand. Used an exhaust pipe, radiator clamp, steel plate and piece of pipe that fit the Tempest mounting. Welded it together. I’ll leave it up for a few days and see how it works and then take it down to clean it up and paint it. It could probably be mounted a little higher on the pole, but I have an aversion to ladders 

2 Likes
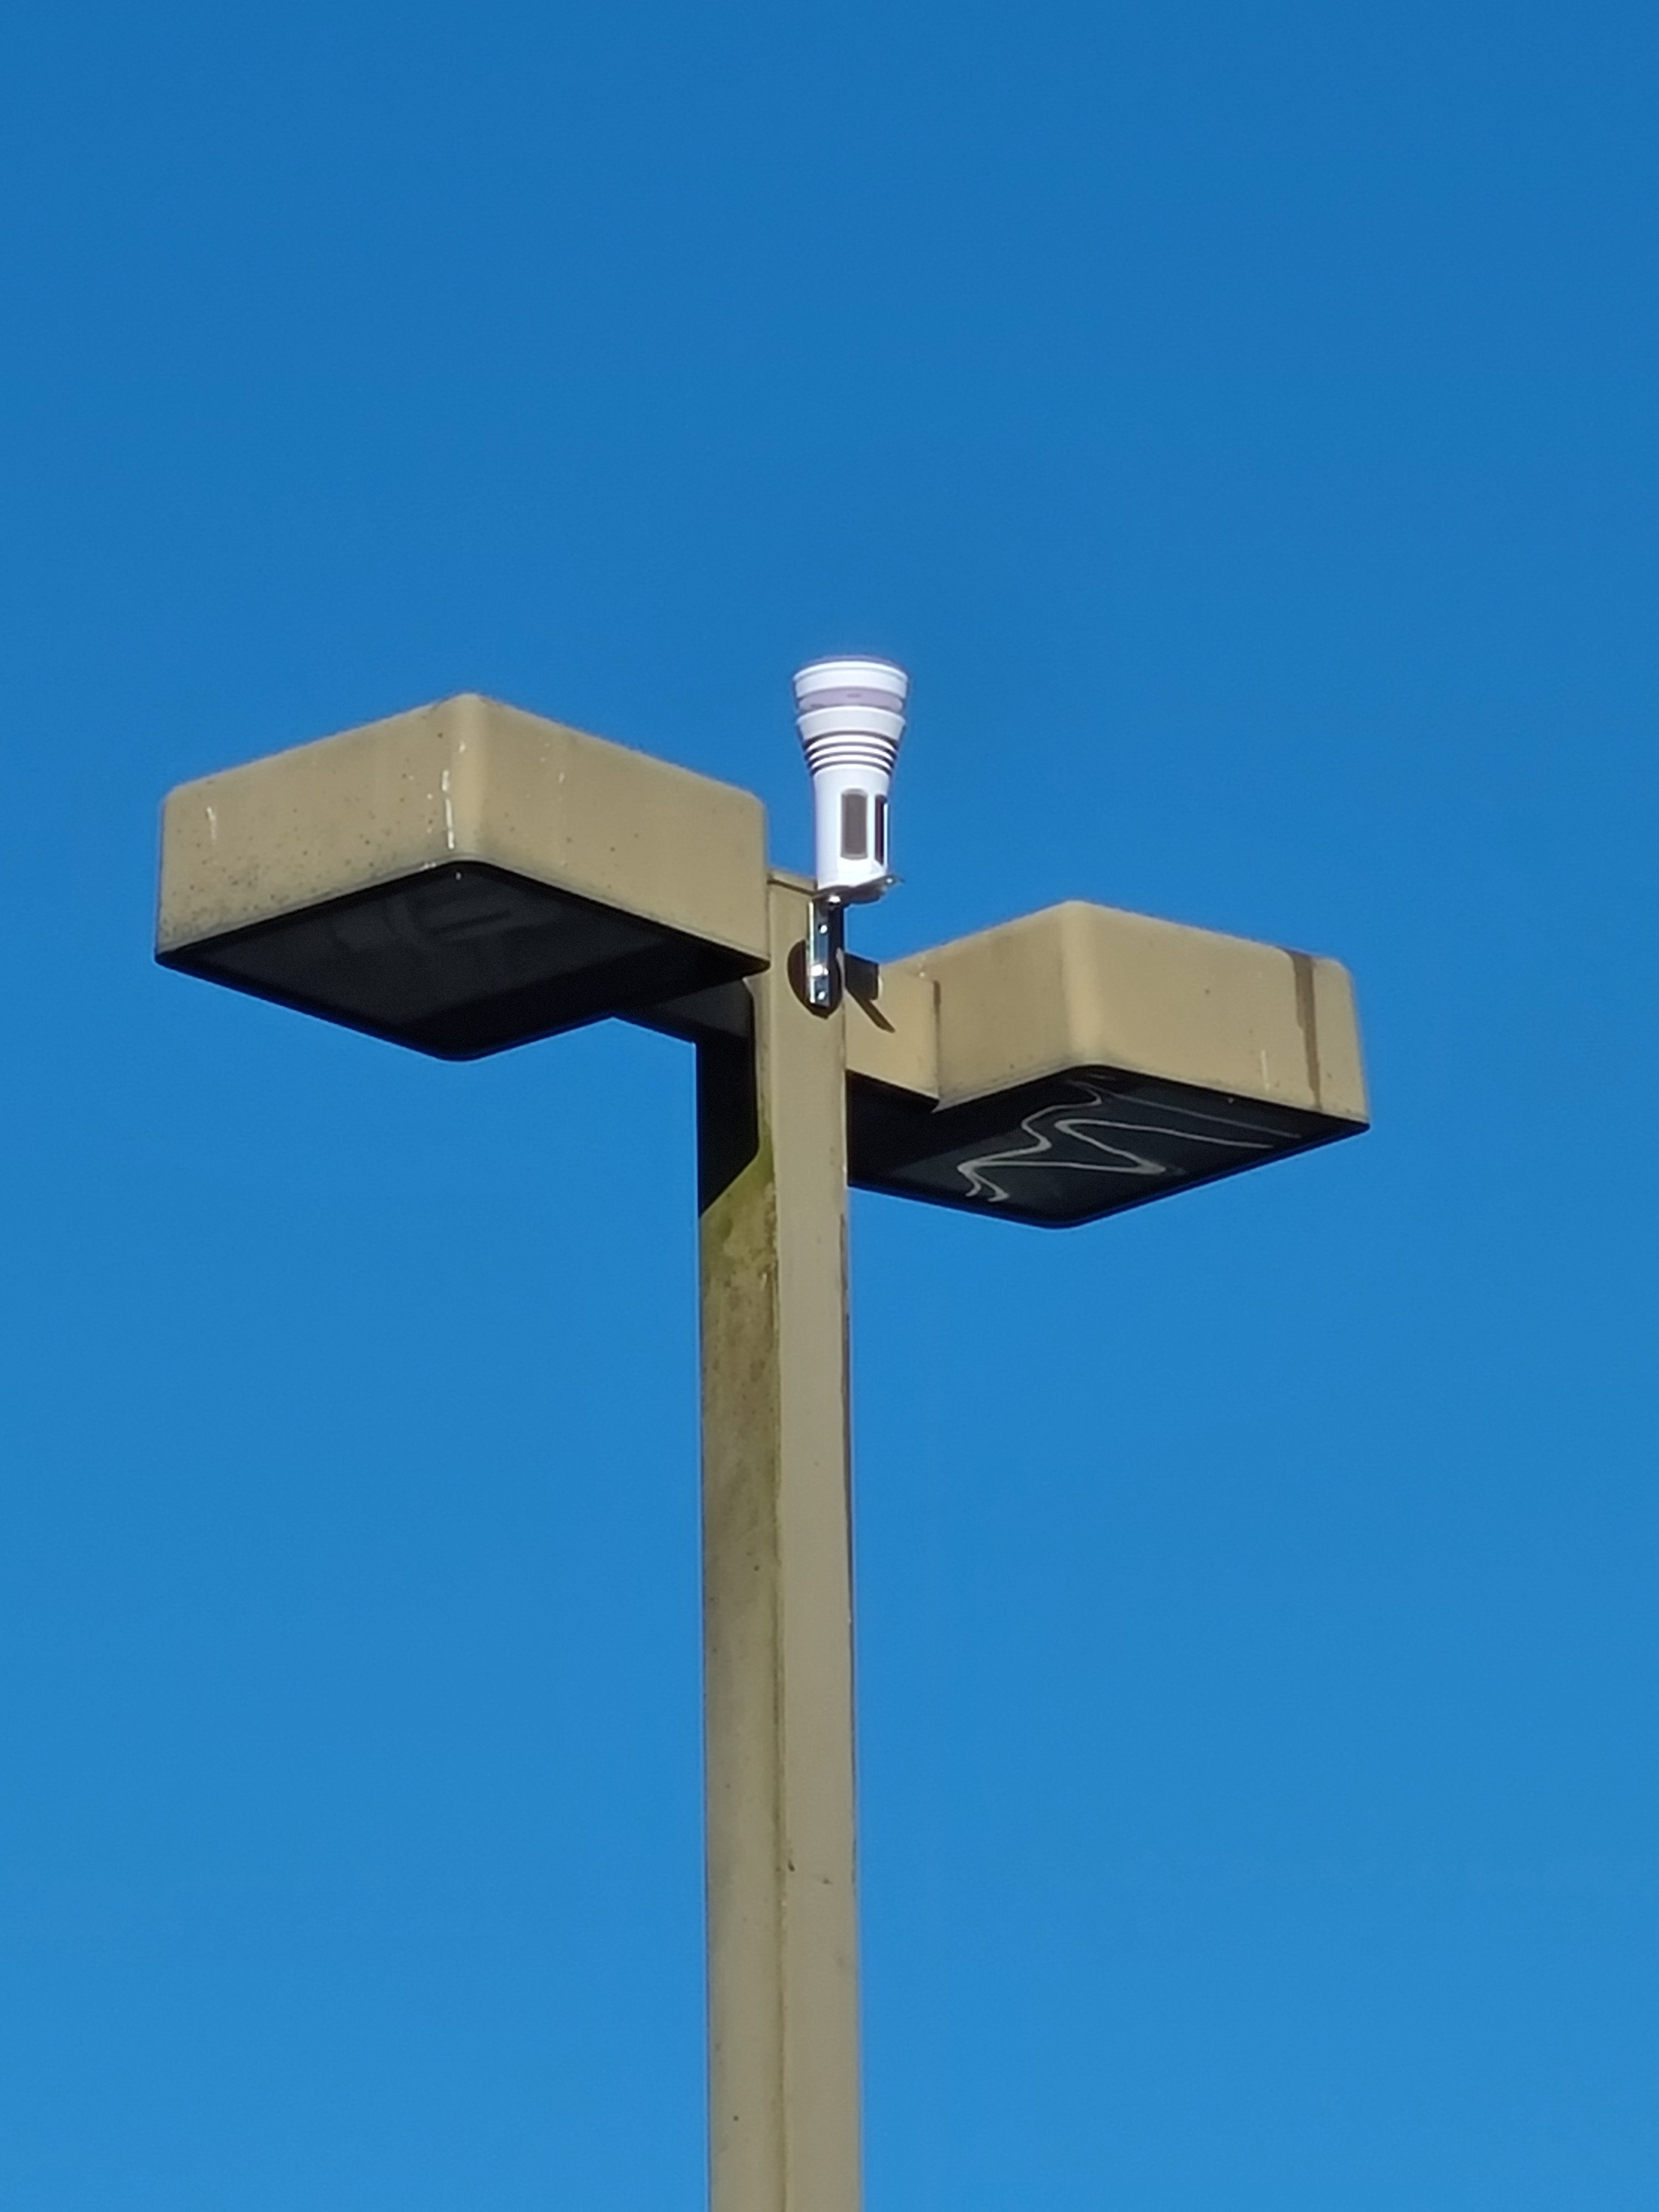
I got the Tempest station setup at my church today. (Thanks, @vinceskahan) Hopefully the poles don’t cause false rain. I need to find a better place for the hub as the RSSI value is a little weak. I thought the tops were made of a ferrous material but it turns out to be aluminum or something similar. I had to get an angle bracket to use my magnetic camera mount. If this location works I may make a more permanent fixture.

7 Likes
Mounted my Tempest at the 48 foot level of my Ham Radio tower, on a sidearm. I didn’t want to get it too high because my tower frequently gets hit by lightning. It is well above the roofs and trees, so the wind won’t be affected by nearby objects.

11 Likes
But it looks like the tower will have an effect on it.
1 Like